Shiny Bar
February 19th, 2013
This tutorial teaches how to make a shiny black bar, but it can easily be altered to use different colors.
Prerequisites
Please know how to do the following before using this tutorial.
- Exercise: Selections – Know how to load a selection.
Objective
Finished Result


Tutorial
- Open a new blank canvas. I will be using a 400x50px one.
-
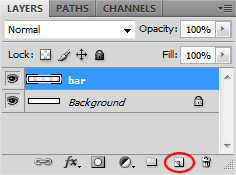
Create a New Layer
 . I will name this layer, bar.
-
Select the Rounded Rectangle Tool
 . If you don’t see it, you may need to hold down the Rectangle Tool
  for more options.
Make sure Fill pixels (also called “Create filled region” on older versions) is selected, and set the radius around 5-10px.

-
On layer bar, create a Rounded Rectangle in black.

-
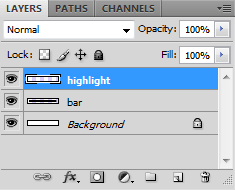
Create a New Layer
 above bar. I will name it, highlight.
-
Load a selection on layer bar. (Tutorial: Exercise: Selections, step 6)
Use the Paint Bucket to fill layer highlight with white.

-
Set the Opacity of layer highlight to 30%.
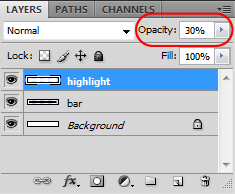
Which now looks like this:

-
Use the Rectangular Marquee
 , and make a selection that covers the bottom half of the bar.

-
Go to Select >> Modify >> Feather (or just Select >> Feather in old versions) and use 3px.
Hit delete on your keyboard afterwards. This will make the light half have a soft edge.

-
Use the Text tool
 to type something on the bar in white.

-
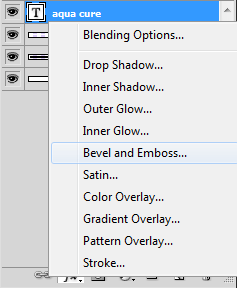
On your layers window, click on Layer Styles
 and select Bevel and Emboss.
-
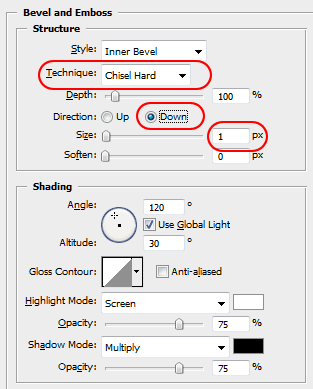
Leave the Style on Inner Bevel, but change the Technique to Chisel Hard, the Direction to Down, and the Size to 1px. You can leave the rest the same.
The text now looks like this:

-
Create another New Layer
 . I will name this one, text shadow.
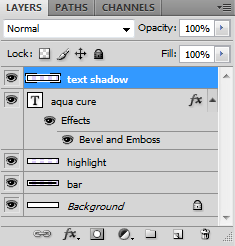
-
Load a selection on your text, and then use the Paint Bucket
 to fill layer text shadow with black.

-
Set the Opacity of layer text shadow to 10%.

-
Use the Rectangular Marquee
 , and make a selection that covers the top half of the text. Hit delete on your keyboard to remove that part.

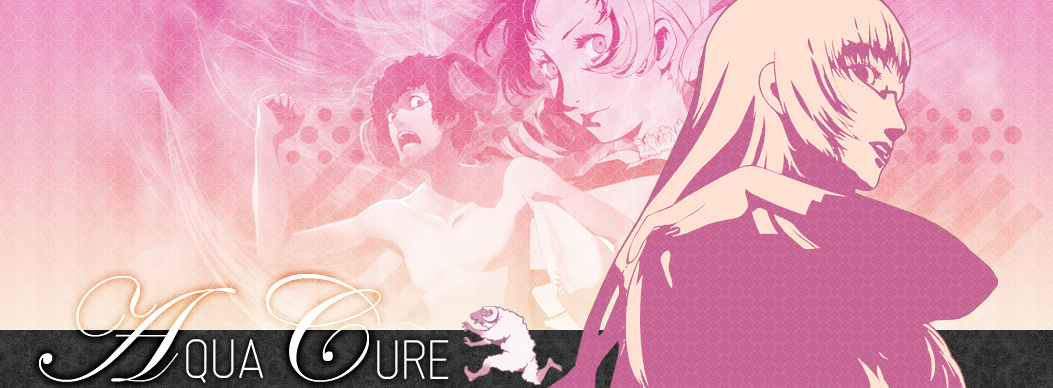
And now we’re done!



Leave a Reply