Fog/Mist Effect
April 17th, 2013
Here is one way to create a foggy or misty effect over a graphic. It takes advantage of the cloud effect in Photoshop.
Objective
Original
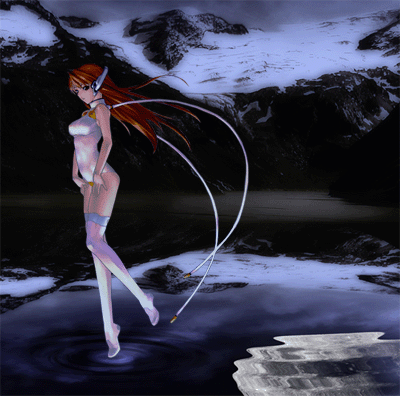

Finished Result


Tutorial
-
Open the image you’d like to add a fog/mist to, and create a New Layer
 . I will be naming mine, fog base.
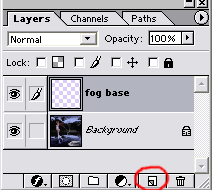
-
Make sure your foreground and background colors are black and white. You can hit D to reset them to this.

-
On layer fog base, create some clouds by going to Filter >> Render >> Clouds.
You want a pattern that doesn’t have too much white or black but a nice balance of both. You can keep rendering clouds until you’re satisfied.
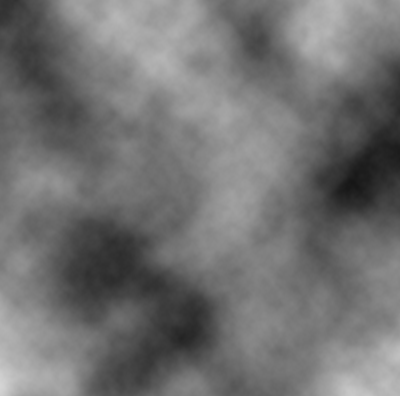
-
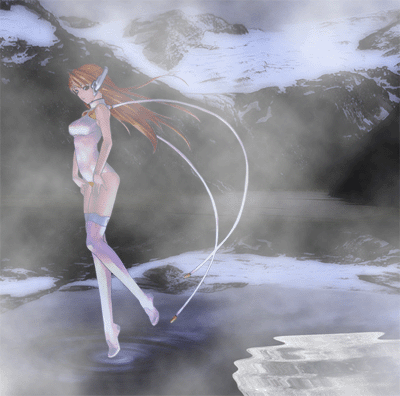
In your Layers window, set the Blending Option of layer fog base to Screen.
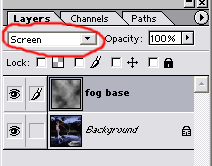
It should now look like this.
-
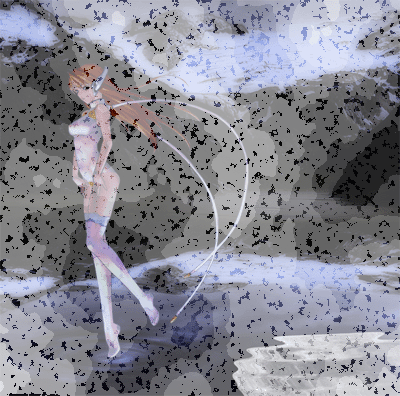
Now we’re going to give it a bit of texture. Go to Filter >> Artistic >> Poster Edges. The default options are fine (Thickness at 2, Intensity at 1, Posterization at 2).
-
Select the Smudge tool
 . (If you only see the Blur or Sharpen tool, hold that down for more options.) Select a fairly large brush and set the pressure to 50%.

-
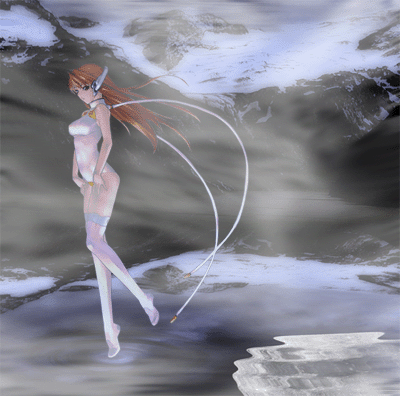
Smudge the fog around! Simply hold down on an area and then move your mouse to the side. Do this to several areas in horizontal motions until it’s smoothed out.
-
Select the Eraser tool
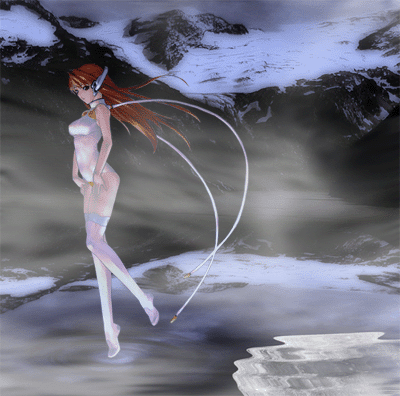
 and choose a brush with faded edges (like an airbrush). Erase off any areas you don’t want covered by the fog. (I erased the fog over her face.)
-
Make another New Layer
 . I will name it fog overlay.
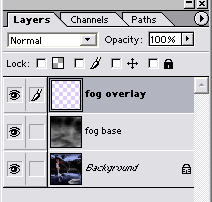
-
Render clouds on fog overlay by doing Filter >> Render >> Clouds again.
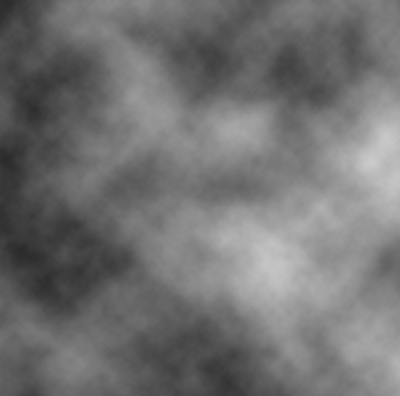
-
This new cloud layer will break up the fog/mist more. In your Layers window, set the Blending Option of layer fog overlay to Soft Light. (Overlay might also work.)
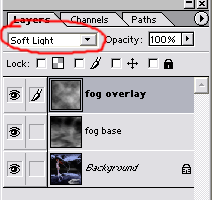
-
And that’s it! You can smudge it around more or erase some areas until it’s to your liking.

Image credit: code1name at Freeimages



Leave a Reply