
Reflections
March 12th, 2013
This tutorial shows how to reflect text, but you can also do the same with images.
Objective
Finished Result

Tutorial
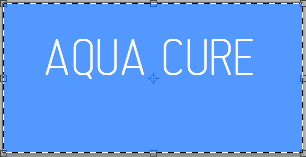
- Open a new, blank canvas. I will be using a 300x150px one.
-
Using the Paint Bucket
 , fill the Background with the color of your choice.

-
Use the Text Tool
 to write something on top.

-
In your Layers window, Duplicate your text by hitting Ctrl+J or by right clicking it and selecting “Duplicate layer”.

-
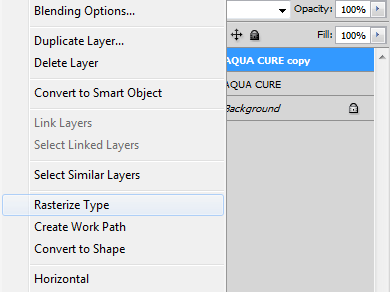
Now we want to change that copy text layer into a normal layer. Right click on the copy and select Rasterize Type. (Older versions call it “Rasterize Layer”.)
-
Make a selection around your whole canvas by hitting Ctrl+A (Select All). Then, right click inside the selection and choose Free Transform.
-
Right click inside the selection again, and choose Flip Vertical. Hit Enter on your keyboard to apply the transformation.

-
Use the Move Tool
 to move the copied text a few pixels below the original text.

-
Use the Rectangular Marquee
 to select the bottom half of the copied text.
Go to Select >> Modify >> Feather (or just Select >> Feather in old versions) and set it to 15px. (Use a larger number if the text/image is larger.)
Hit Delete on your keyboard once or twice to make the text fade.

-
Set the Opacity of the copied text to 50%.
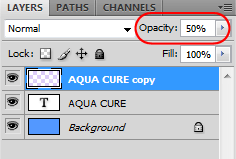
Now it looks like…

-
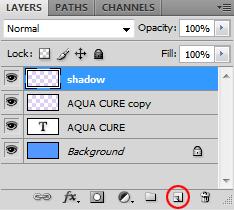
Make a New Layer
 at the top. I will name it shadow.
-
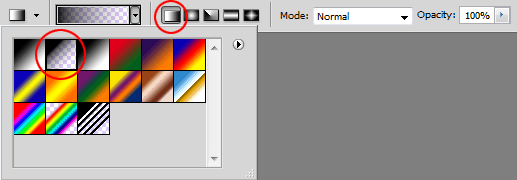
Select black as your foreground, and then select the Gradient Tool
 . It should go from black to transparent, and it should be a Linear Gradient.
Use the Rectangular Marquee
to select the area below the original text. Make a small gradient inside this selection on layer shadow.
-
Set the Blending Option of layer shadow to Soft Light. You can also try Overlay or just lowering the Opacity if those look better.
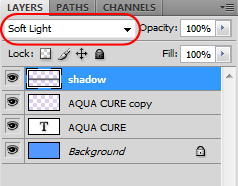
It now looks like this…

-
To soften the top of the shadow, go to Filter >> Blur >> Gaussian Blur and set it to 1px.

-
And now for the finishing touches. Use the Eraser
 with a soft brush, and erase parts of the left and right sides.
Here’s the finished product!

Leave a Reply