
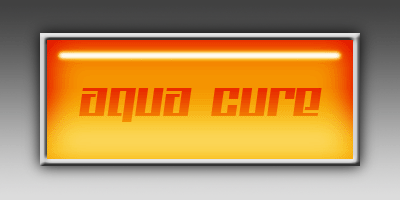
Rectangular Gel Banner
February 2nd, 2015
How to make a shiny, 3D banner. It can make a great layout header!
Prequisites
Please know how to do the following before using this tutorial.
- Exercise: Selections – Be sure you know how to load a selection.
Objective
Tutorial
- Make a new canvas. I will be using a 400x200px one.
-
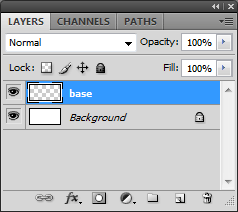
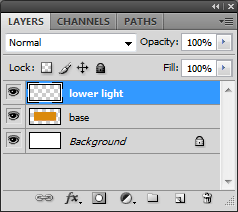
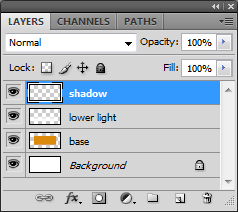
Make a New Layer
 . I am going to name it base.
-
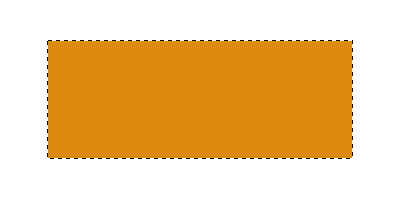
Use the Rectangular Marquee tool
 to make a rectangle selection, and then use the Paint Bucket
  to fill it with a color that is duller than the color you want to end up with. (Trust me, it’ll look better later.)
-
Make a New Layer . I will name this one lower light.
-
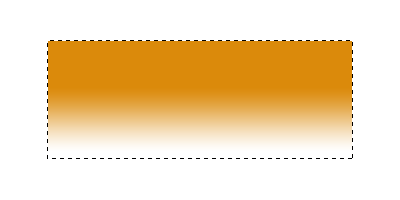
Select the Gradient tool
 and use the following settings. Choose a Linear Gradient that goes from white to transparent.

Make a gradient from the bottom to about half-way up.
-
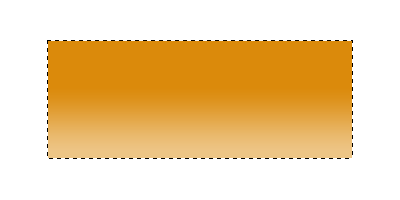
Set the Opacity of lower light to around 30-50%. The amount depends on your color.
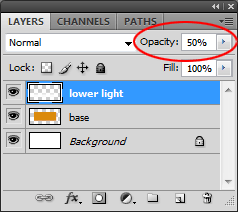
But you basically want something like this:
-
Make a New Layer , which I will name shadow.
-
Use the Paint Bucket to fill layer shadow with black.

-
With the selection still around your rectangle, go to Select >> Modify >> Feather (old versions use Select >> Feather) and choose 15px.

-
Press Delete on your keyboard and then deselect (Ctrl+D) your selection.
-
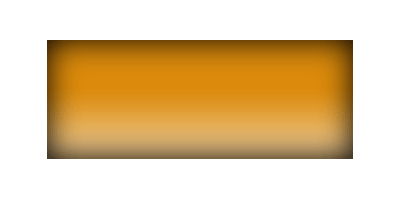
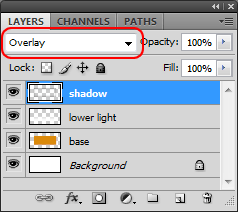
That gives us a nice shadow around the edges, but it’s a bit too strong. So, set the Blending Option of layer shadow to Overlay.
Now we have this:

-
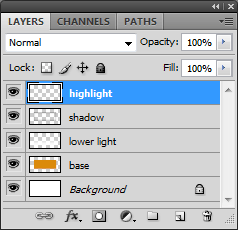
Make a New Layer . I’m naming it highlight.
-
Use a Paint Brush
 that is about 5px round. Hold Shift and draw a straight line near the top. There should be a bit of space on the left/right sides and at the top.

-
Go to Filter >> Blur >> Gaussian Blur, and set it to 2px.

-
Hide the Background layer…
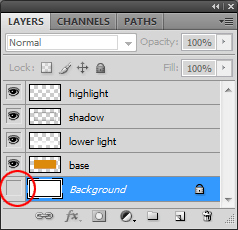
…then select layer base, and Merge Visible (Ctrl+Shift+E or Layer >> Merge Visible) so that the layers are all together.

-
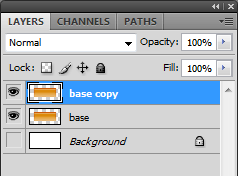
Duplicate layer base (Ctrl+J or Layer >> Duplicate Layer).
-
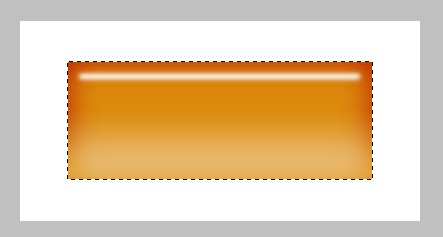
Load a selection on layer base copy. (Tutorial: Exercise: Selections, step 6)
Then apply a Gaussian Blur by going to Filter >> Blur >> Gaussian Blur. Set it to 1px.
-
Set the Blending Option of layer base copy to Overlay.
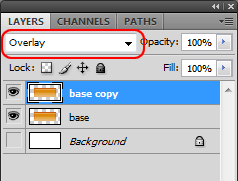
This will give us a nice bright color. (See? I told you it’d look better!)

-
Add whatever you want to the banner, and you’re done!

Leave a Reply