

Creating a silhouette
February 17th, 2013
This basically takes an extracted image and copies its shape to form a filled-in silhouette.
Prerequisites
Please know how to do the following before using this tutorial.
- Making extractions
- Exercise: Selections – Know how to load a selection.
Objective
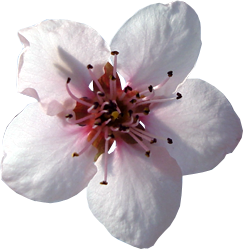
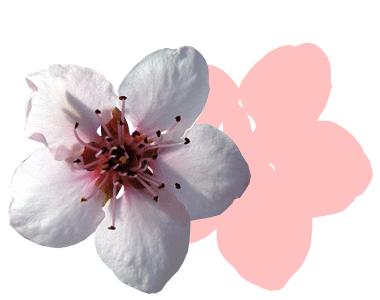
Original
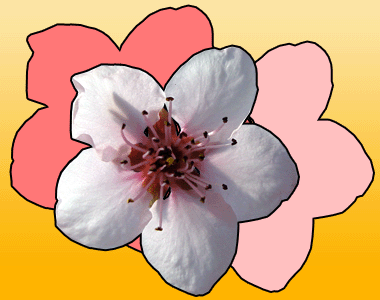
Finished result
Tutorial
- With the image of your choice, extract it from its background, so that it’s against a transparent background. (Tutorial: Making extractions)
-
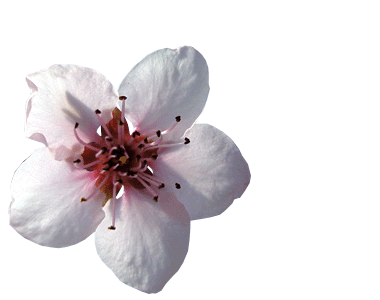
Copy and paste it onto another canvas. I’m going to use a 380×300 canvas, and I’ll move the image to the lower left corner.
-
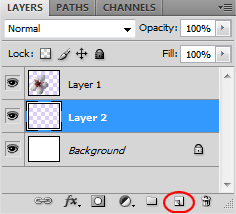
Create a New Layer
 under your image.
-
Load a selection on the image on the top layer. (Tutorial: Exercise: Selections, step 6)

-
Select one of the marquee tools, like the Rectangular Marquee
 , and then move your selection where ever you want.

-
Select the layer under your image. (Mine is named Layer 2.) Use the Paint Bucket
 to fill the selection with the color of your choice.
-
Play around with it, add more shapes if you want, and you’re done!
Image credit: berenika at Freeimages

Leave a Reply