

Metal Bar
February 21st, 2013
Here’s a way to make a horizontal metal bar, which can be handy as a title image or for navigation.
Objective
Finished Result

Tutorial
- Open a new canvas with the size that you want the bar to be. I’m going to use 400x40px.
-
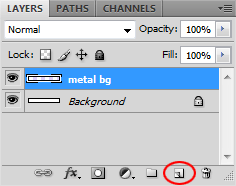
Make a New Layer
 . I will name mine, metal bg.
-
Select a dark gray in the Foreground and a light gray in the Background.

-
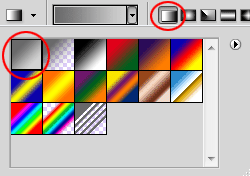
Select the Gradient tool
 . Make sure Linear Gradient is selected, and that the color goes from the Foreground to the Background.
-
Make a gradient on layer metal bg that goes from the bottom to top.

-
Use the Rectangle Marquee
 , and make a selection that goes all the way across but leaves a few pixels of room on the top and bottom.

-
Right click inside of the selection and choose Free Transform.

-
Right click inside the selection again and choose Flip Vertical. Hit Enter on your keyboard to apply the transformation.

-
Use the Rectangular Marquee to make a selection around the top section. Hold Shift to make another selection around the bottom section.

-
Go to Filter >> Blur >> Gaussian Blur. Set it to 1px or 2px.

-
The basic metal background is done! Let’s add some text now. I will treat mine as a navigation bar.
Use the Text tool
 and type some text in white.
-
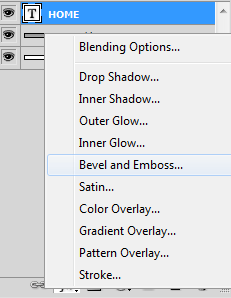
In your Layers window, click on Layer Styles
 and select Bevel and Emboss.
-
Set Style to Outer Bevel, Direction to Down, and Size to 2px. You can leave the rest.
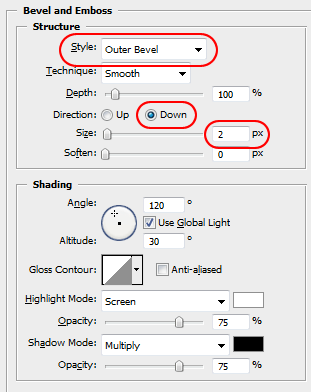
It should look like this now:

-
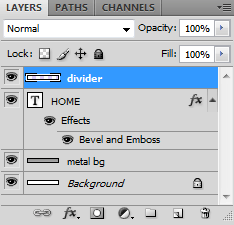
Now to add a border that divides the navigation sections. Make a New Layer , which I will name divider.
-
Use the Pencil tool
 to draw a 1px white line next to a 1px black line.

-
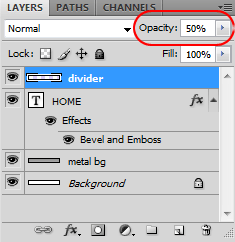
Set the Opacity of layer divider to 50%, so that the divider blends in with the bar more.
-
And that’s it! To finish it, I added more navigation sections.

Leave a Reply