Wispy Lines
March 16th, 2013
How to make some wispy lines that have a light, airy look.
Objective
Finished Result


Tutorial
- Open a new canvas. I will be using a 400x400px one.
-
Use the Paint Bucket
 , fill the Background layer with any color that will make white easy to see. For example, I am using black.

-
Make a New Layer
 .
.
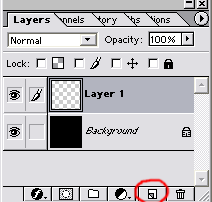
-
Use a Paint Brush
 of any size and make a white blob in the top right corner of the new layer.

-
Go to Filter >> Distort >> Ripple. Set the Amount to 999% and the Size to Large.
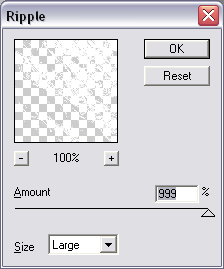
Hit OK, and then use Ctrl+F to apply the same filter again. (We wanted this ripple to happen twice.)
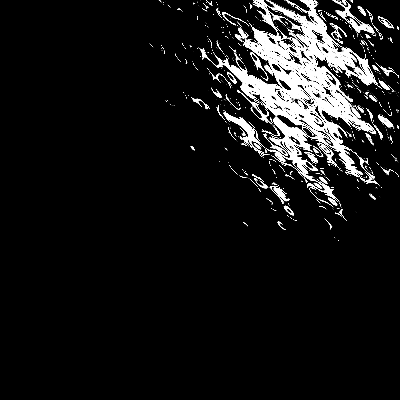
-
Go to Filter >> Blur >> Radial Blur. Set the Amount to 100, Blur Method to Zoom, and move the Blur Center to the top right.
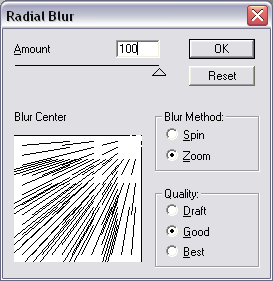
Like before, we want to do this filter twice. Hit OK, and then use Ctrl+F to apply the radial blur a second time.
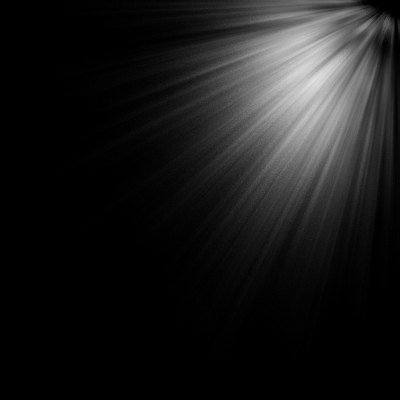
(Tip: Cltr+F applies the last filter you used. This is why it did a radial blur this time instead of a ripple.)
-
Go to Filter >> Sharpen >> Unsharp Mask. Set the Amount to 500%.
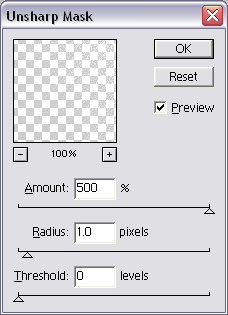
This will help define our lines. It now looks like this:
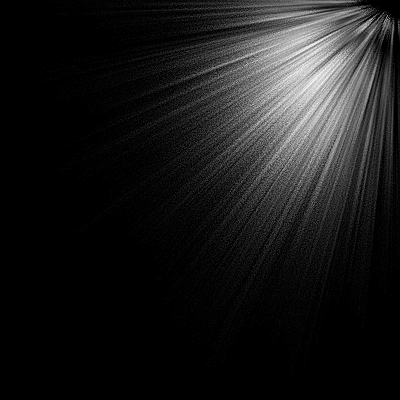
-
To smooth it out, do another Radial Blur, using the same exact settings as before.
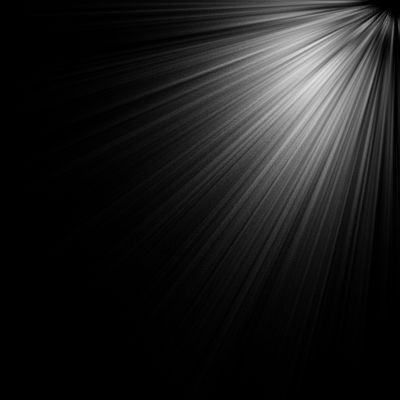
-
For the final touch, go to Filter >> Distort >> Shear. Set Undefined Areas to Repeat Edge Pixels. Then, make an S shape with the line.
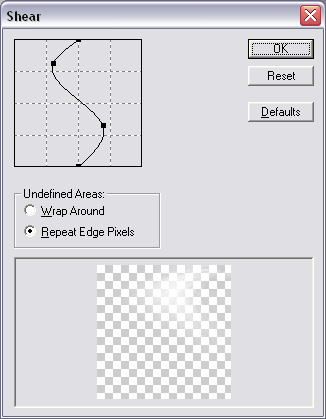
Now we’re pretty much done:
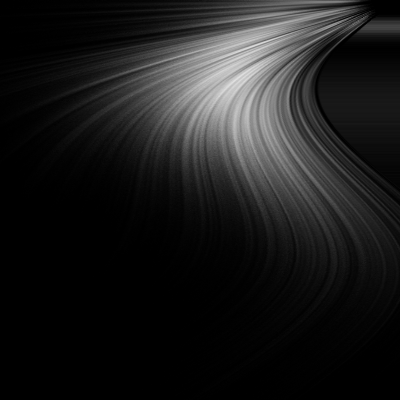
- Apply it to other images for a nifty addition, and that’s it!
Image credit: RAWKU5 at Freeimages


Leave a Reply