

Metallic Button
August 14th, 2013
This tutorial will make an oval-shaped inset button, though you can apply the same technique to different shapes.
Objective
Finished result

Tutorial
- Open a new blank canvas. I will be using a 120x50px one.
-
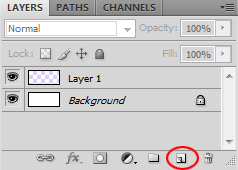
Make a New Layer
 .
.
-
Select the Rounded Rectangle Tool
 (which is in the same menu as the Rectangle Tool).
Make sure Fill Pixels is selected (formally called “Create filled region”) and set a high number for the radius. I’m using 20px.

-
On your new layer, create a small rounded rectangle.

-
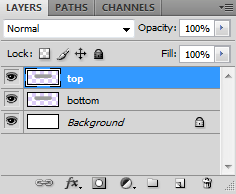
Duplicate the layer by hitting Ctrl+J or by right clicking the layer and selecting “Duplicate layer”. I have renamed my layers to top and bottom.
-
On layer top, choose Bevel and Emboss in the Layer Styles
 .
.
Use an Inner Bevel with Smooth as the Technique and Up as the Direction.
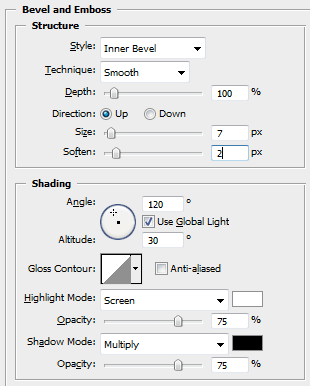
Adjust the Size and Soften so that you get a smooth 3D button, like this:

-
Now select layer bottom, and select Bevel and Emboss again in the Layer Styles .
This time, use an Outer Bevel with Chisel Hard as the Technique and Down as the Direction.
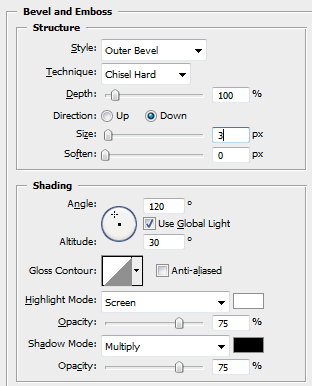
Also, lower the Size, so that the button is slightly inset, like this:

-
Using the same color as your button, use the Paint Bucket
 to fill the color on your Background layer.

-
And that’s it! You can also add text below the button using the same Bevel and Emboss technique.

Leave a Reply