Metallic Wires
February 2nd, 2014
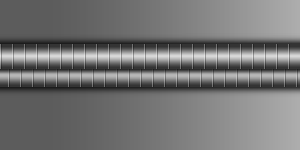
This is a simple way to make metallic looking wires.
Prequisites
Please know how to do the following before using this tutorial.
Objective
Finished result

Tutorial
- Open a new, blank canvas. I will be using a 300x150px one.
-
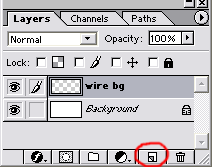
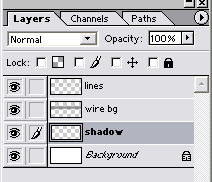
Create a New Layer
 . I will name mine wire bg.
-
Using the Rectangular Marquee
 , make a selection that is about 25px in height.

-
On layer wire bg, fill the selection with a light grey color using the Paint Bucket tool
 .
.

-
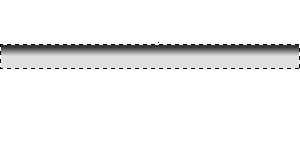
Choose a dark grey color, and then select the Gradient tool
 . Make sure the gradient goes from color to transparent and is a Linear Gradient.

-
Create a gradient from the top to about halfway down.
-
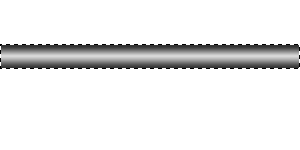
Create another gradient from the bottom to about halfway up.
-
On a separate canvas that is 12px wide, create a pattern. It should have 1px white, 1px black, and 12px of transparent space. (Tutorial: Making and using patterns)

-
Back to our first canvas, make a New Layer
 . I will name mine lines.
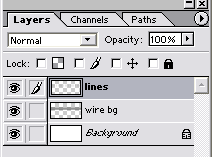
-
Make sure the selection is still around the wire background. Fill the selection with the pattern that we just created onto layer lines.
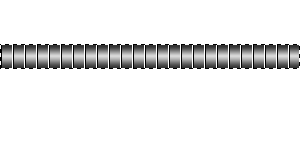
-
Lower the Opacity of layer lines to about 30%.
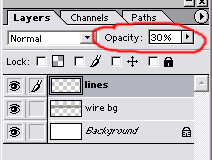
Now we have…
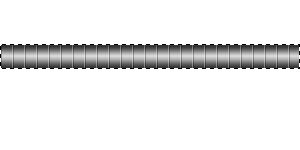
-
Make another New Layer
 above the Background layer. I will name mine shadow.
-
With the selection still around the wire, fill layer shadow with black using the Paint Bucket tool
 .
.
(This won’t show up yet since it’s behind the wire, so I’m just showing a preview of the layer.)

-
Now we’re finally done with the selection around the wire that we’ve been holding onto.
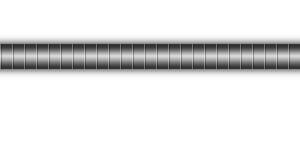
Deselect the selection (Ctrl + D), and apply a Gaussian Blur on layer shadow (Filter >> Blur >> Gaussian Blur). Set it to about 4 or 5px.
-
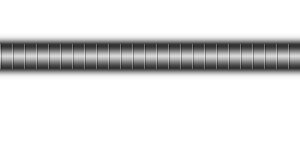
Duplicate layer shadow (Ctrl + J) to make the shadow a little darker.
-
That’s it! Make as many as you want!


Leave a Reply