

Exercise: Pen Tool
February 15th, 2015
This tutorial will go through the basics of the Pen tools and the Paths window.
Tutorial
-
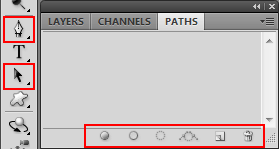
This exercise will focus on the Pen tools and the Selection tools. Remember that tools with an arrow on the lower right have more tools available. Click and hold them to see your choices.
I will also cover all the actions on the Paths window.
-
Paths Window
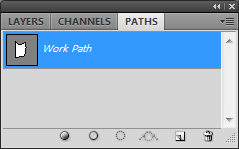
If you don’t see a Paths window, go to Window >> Paths.
By default, if you don’t create your own path, any shapes you make with the pen tool will go on a path called Work Path.
-
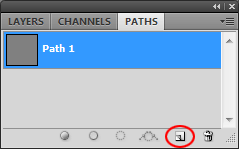
Create new path

This has the same symbol as Create New Layer, except it’s on the Paths window. It’s very similar to the Layers window, but this is for all of your Pen vectors instead.
-
Freeform Pen tool

If you want to freeform your own shape, you can select the Freeform Pen tool, hold down, and draw whatever you want. It will put in the points for you.

-
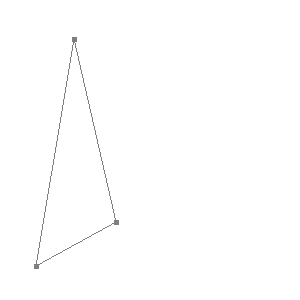
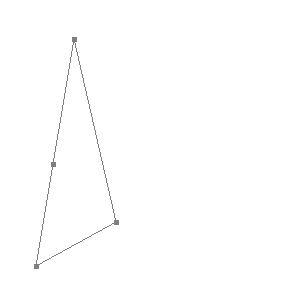
Pen tool

You can use the Pen tool to make the starting points on your shape. Put in a few points, and then click on your first point to close off the shape.
-
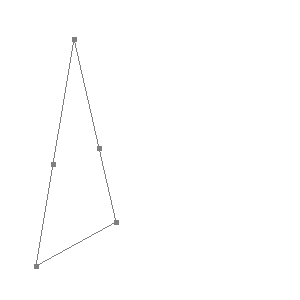
Add Anchor Point tool

Select the Add Anchor Point tool, and click between any two points to add more points.
-
Delete Anchor Point tool

If you click any of the points with the Delete Anchor Point tool, you remove the point.
-
Path Selection tool

The Path Selection tool will let you select the whole path. This means you can move it, or transform it by using it to right click and select “Free Transform Path”.
-
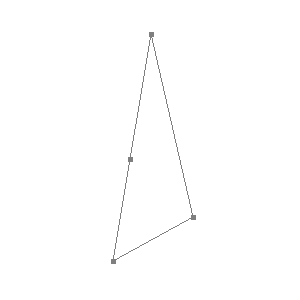
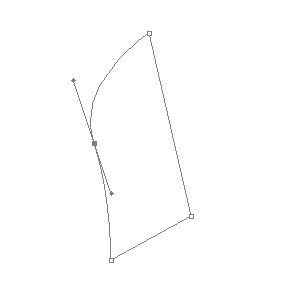
Direct Selection tool

To alter individual points, use the Direct Selection tool. You can click on a point and move it around.
Notice that when you move the original points from the Pen tool
, they keep their sharp corners. However, ones made with the Add Anchor Point tool are rounded with two lines sticking out of them.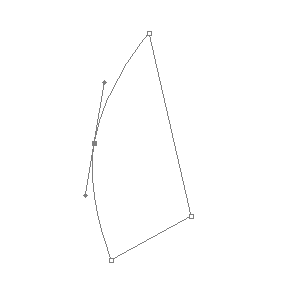
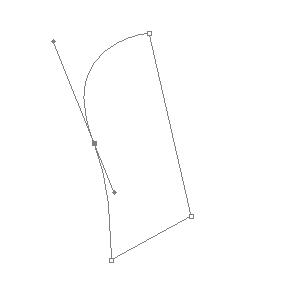
With the Direct Selection tool, we can drag and move those two lines as well.
We can even extend them to change the shape.
-
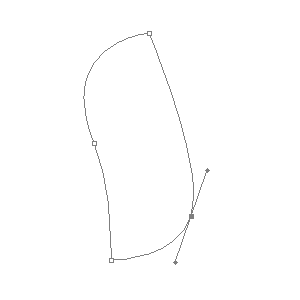
Convert Point tool

To change points with sharp corners to ones that are rounded, use the Convert Point tool. Click a point and then drag it.
-
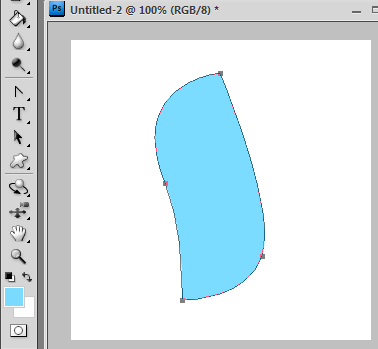
Fill path with foreground color

Now we move onto the actions at the bottom of the Paths window. The first one is Fill path with foreground color, which does exactly what it says. It fills your path with the color you currently have selected as your foreground.
-
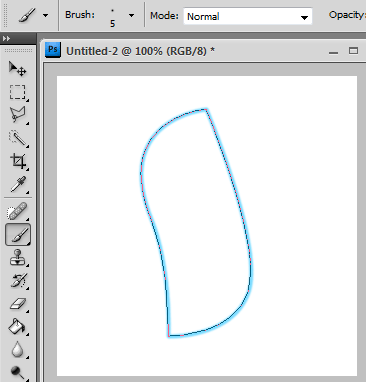
Stroke path with brush

The next one down the row is Stroke path with brush, which also does what it says. It uses your currently selected brush, with the currently selected foreground color, and makes a border along your path.
-
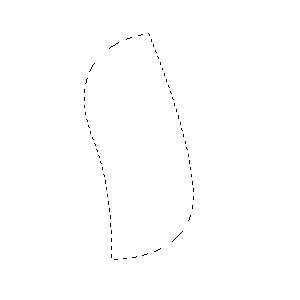
Load path as selection

To turn your path into a selection that you can use, click the Load path as selection action.
-
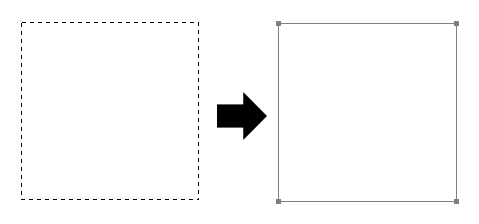
Make work path from selection

To go the other way around, you can make a selection first, and then hit Make work path from selection. This will make a path in the same shape as your selection.
-
Delete current path

Lastly, you can use Delete current path to delete the path you have selected.

Leave a Reply