

Textured Metal Orb
February 14th, 2015
This is very similar to the 3D Orb tutorial, except it makes a metallic orb with a textured finish instead. This is another advanced tutorial that moves faster than my other ones.
Prequisites
Please know how to do the following before using this tutorial.
- Exercise: Selections – Be sure you know how to load a selection.
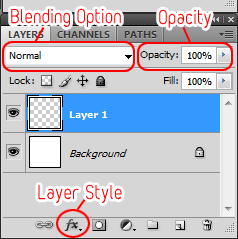
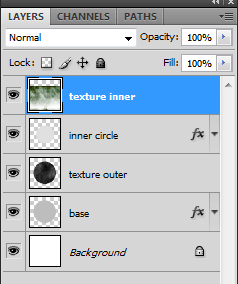
- Layers window: Be familiar with your Layers window, especially where the Blending Options, Opacity, and Layer Styles are set.
Objective
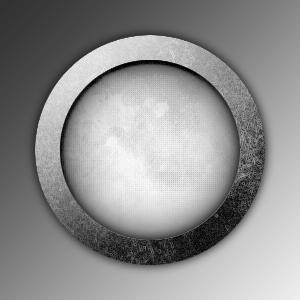
Tutorial
-
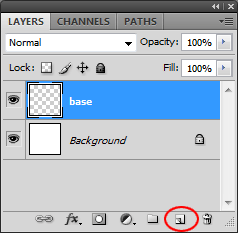
Make a new canvas and then a New Layer
 . Mine will be named base.
-
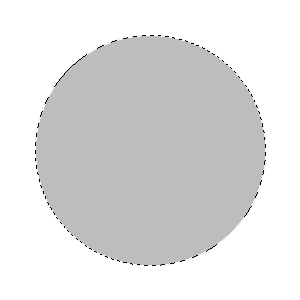
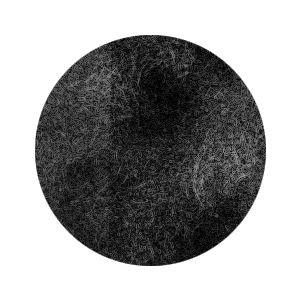
Use the Elliptical Marquee
 and hold Shift to make a circle. Then use the Paint Bucket
  to fill it with a medium grey color.
-
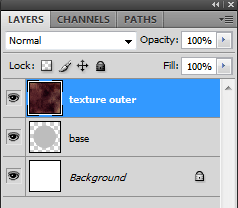
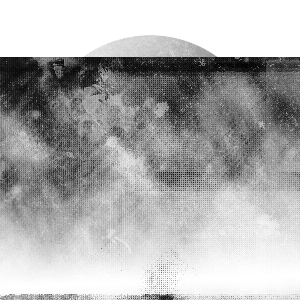
Now we want to use a texture for the outer border. I will be using one from Hybrid Genesis.
Paste the texture of your choice on top and move it where you want.
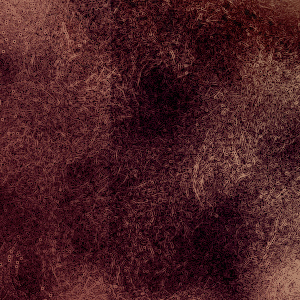
I will name the layer with the texture as texture outer.
-
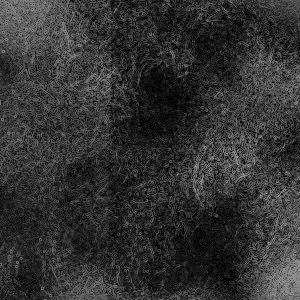
Desaturate (Ctrl+Shift+U or Image >> Adjustments >> Desaturate) your texture so that it’s grayscaled.
-
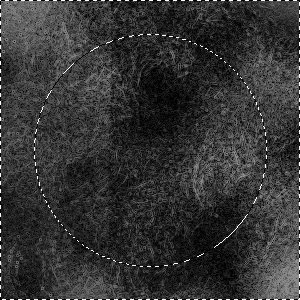
Load a selection on layer base (Tutorial: Exercise: Selections, step 6). Then Invert the selection (Ctrl+Shift+I), so it covers the area outside of the circle.
-
Select layer texture outer and hit Delete on your keyboard. Deselect (Ctrl+D) your selection too.
-
Set the Blending Option of layer texture outer to Overlay.

-
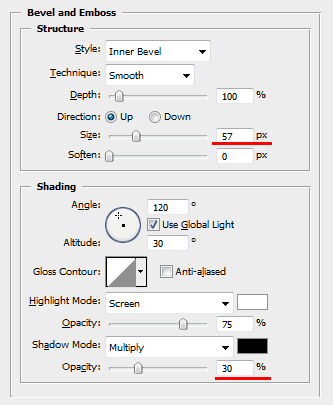
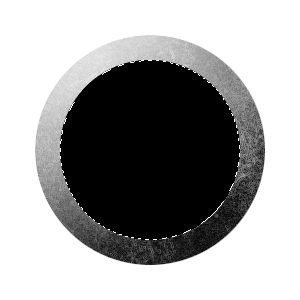
Select layer base, and select Bevel and Emboss in the Layer Styles
 .
.
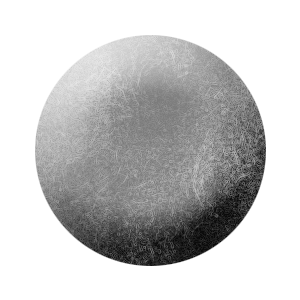
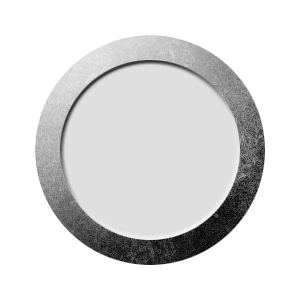
Keep it on Inner Bevel and Smooth. Change the Size to 50-60px and lower the Opacity of the Shadow to 30%-50%. The rest can stay the same.
This gives us:
-
Next is to make the smaller circle that goes inside. First, find out how big your base circle is.
Load a selection on layer base, and then look at your Info panel (go to Window >> Info if you don’t see it.)
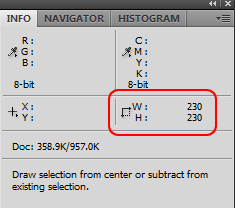
My circle is 230×230 and I want a 25px border. This means I want a 180×180 circle.
-
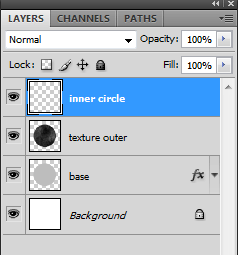
Make a New Layer at the top. I will name mine inner circle.
-
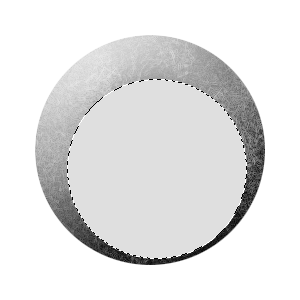
Use the Elliptical Marquee and hold Shift to make the smaller circle (180×180 for me). Use the Paint Bucket to fill it with a light grey. Don’t worry about centering it yet.
-
Load a selection on layer base, and then select layer inner circle to edit.
Select the Move tool
 , and you’ll see a bunch of alignment options on the top bar. Click the Align vertical centers one, and then the Align horizontal centers one.
Now our smaller circle is centered inside the bigger one!
-
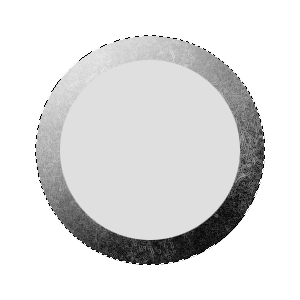
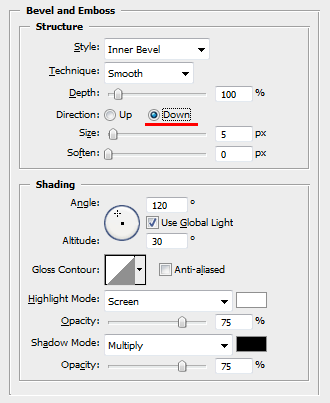
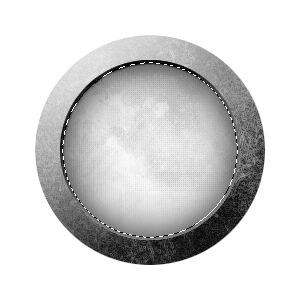
Deselect (Ctrl+D) your selection, and then click Layer Styles and choose Bevel and Emboss again.
Again, keep it on an Inner Bevel and Smooth. However, change the Direction to down. Everything else can stay the same.
Now the inner circle sinks in a little.
-
Grab another texture to use for the inner circle. Mine is from Hybrid Genesis again. Paste it on the very top, and move it where you want.

I will name this layer as texture inner.
-
Like before, Desaturate (Ctrl+Shift+U or Image >> Adjustments >> Desaturate) the texture, so that it’s grayscaled.
-
Load a selection on layer inner circle, and then Invert it (Ctrl+Shift+I) to cover the area outside of the circle.
Select layer texture inner, and hit Delete on your keyboard.
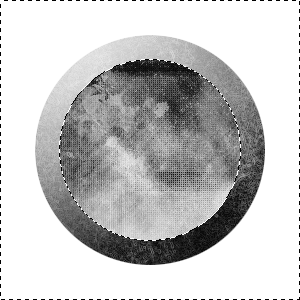
-
Deselect (Ctrl+D) your selection, and then set the Blending Option of layer texture inner to Overlay.

-
Make a New Layer at the top, which I will name big shadow.
-
Load a selection on layer inner circle. Select layer big shadow, and use the Paint Bucket to fill it with black.
-
Go to Select >> Modify >> Feather (Select >> Feather on older versions), and use 20px. Then hit Delete on your keyboard.
-
Now we’re going to do that again but to make a smaller shadow. Make a New Layer at the top, which I will name small shadow.
-
Like before, load a selection on layer inner circle. Select layer small shadow, and use the Paint Bucket to fill it with black.
-
Go to Select >> Modify >> Feather, but use 5px this time. Hit Delete on your keyboard.
-
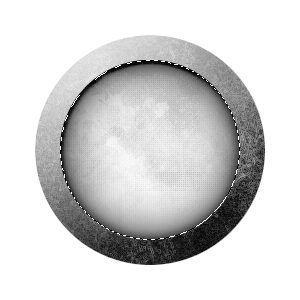
The last shadow goes behind the whole thing! Make a New Layer underneath layer base, which I will name base shadow.
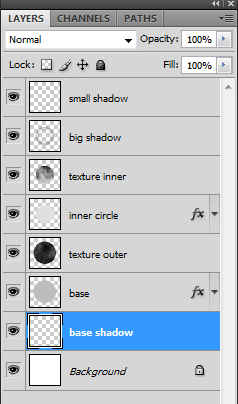
-
Load a selection on layer base, and then select layer base shadow to edit. Use the Paint Bucket to fill it with black.
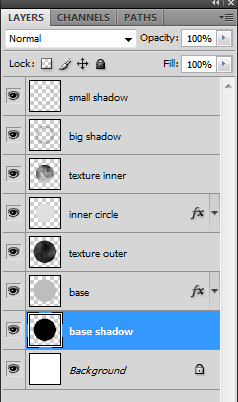
-
Deselect (Ctrl+D) your selection. Go to Filter >> Blur >> Gaussian Blur and use 5px to get a slight shadow.
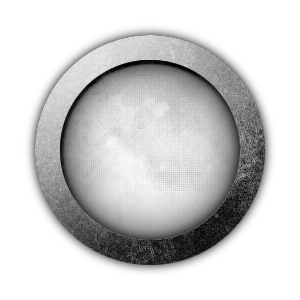
-
Add whatever else you want, and we’re done!

Leave a Reply